How to Set Up Google Search Console Using DNS Record
Follow this guide to add and verify your domain on Google Search Console using a DNS record.
Requirements
You need a Google account. If you don't have one, create it for free.
Setup Steps
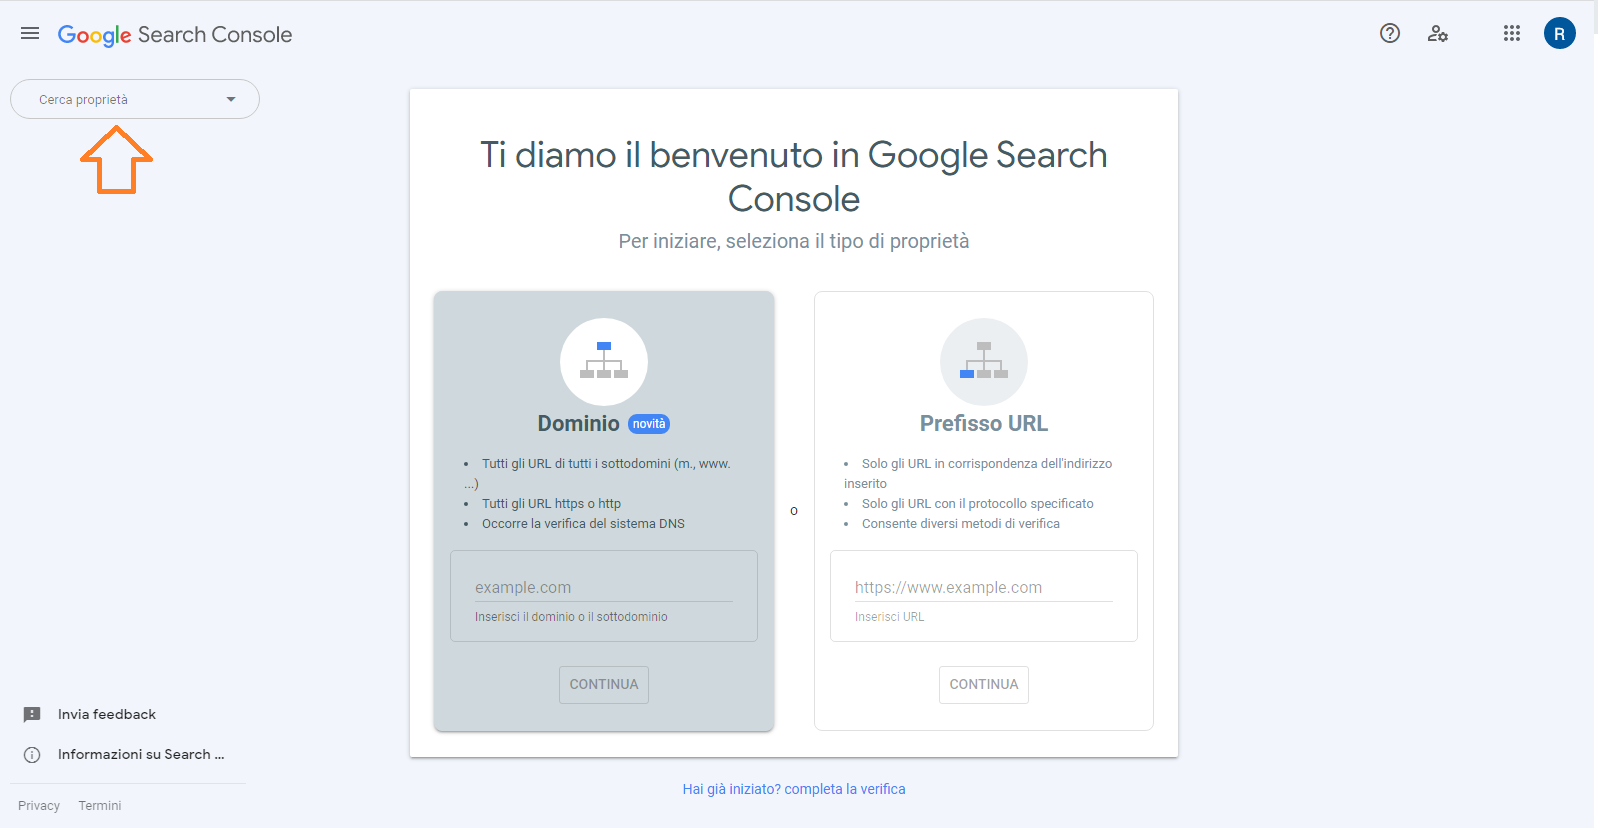
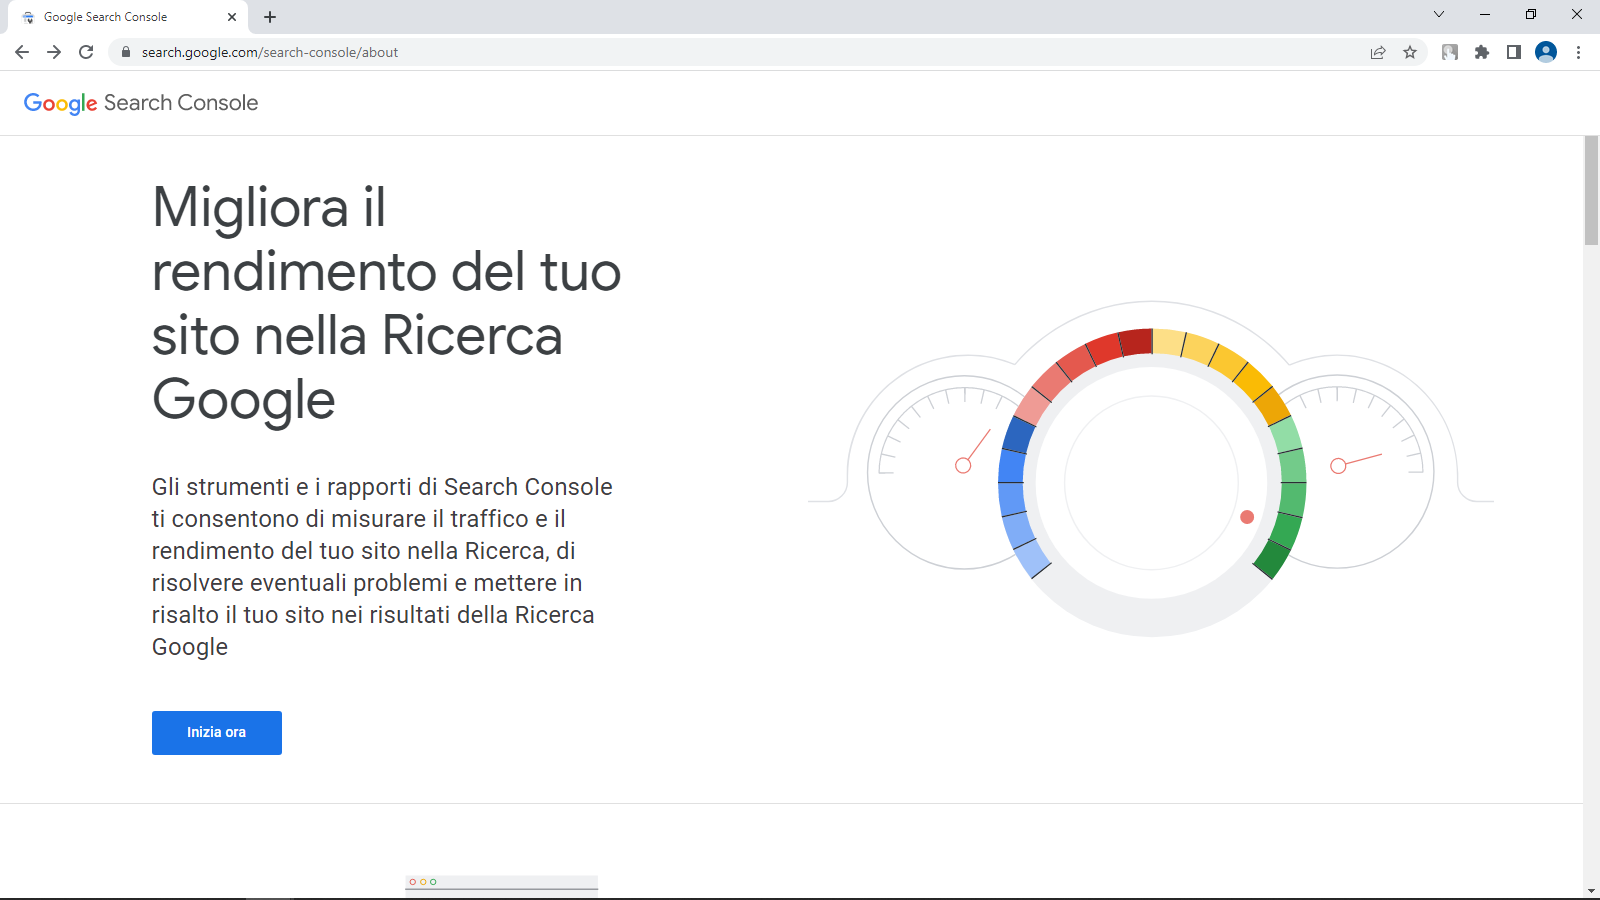
- Open Google Search Console and click Start now.
- You'll be prompted to choose between two property types.
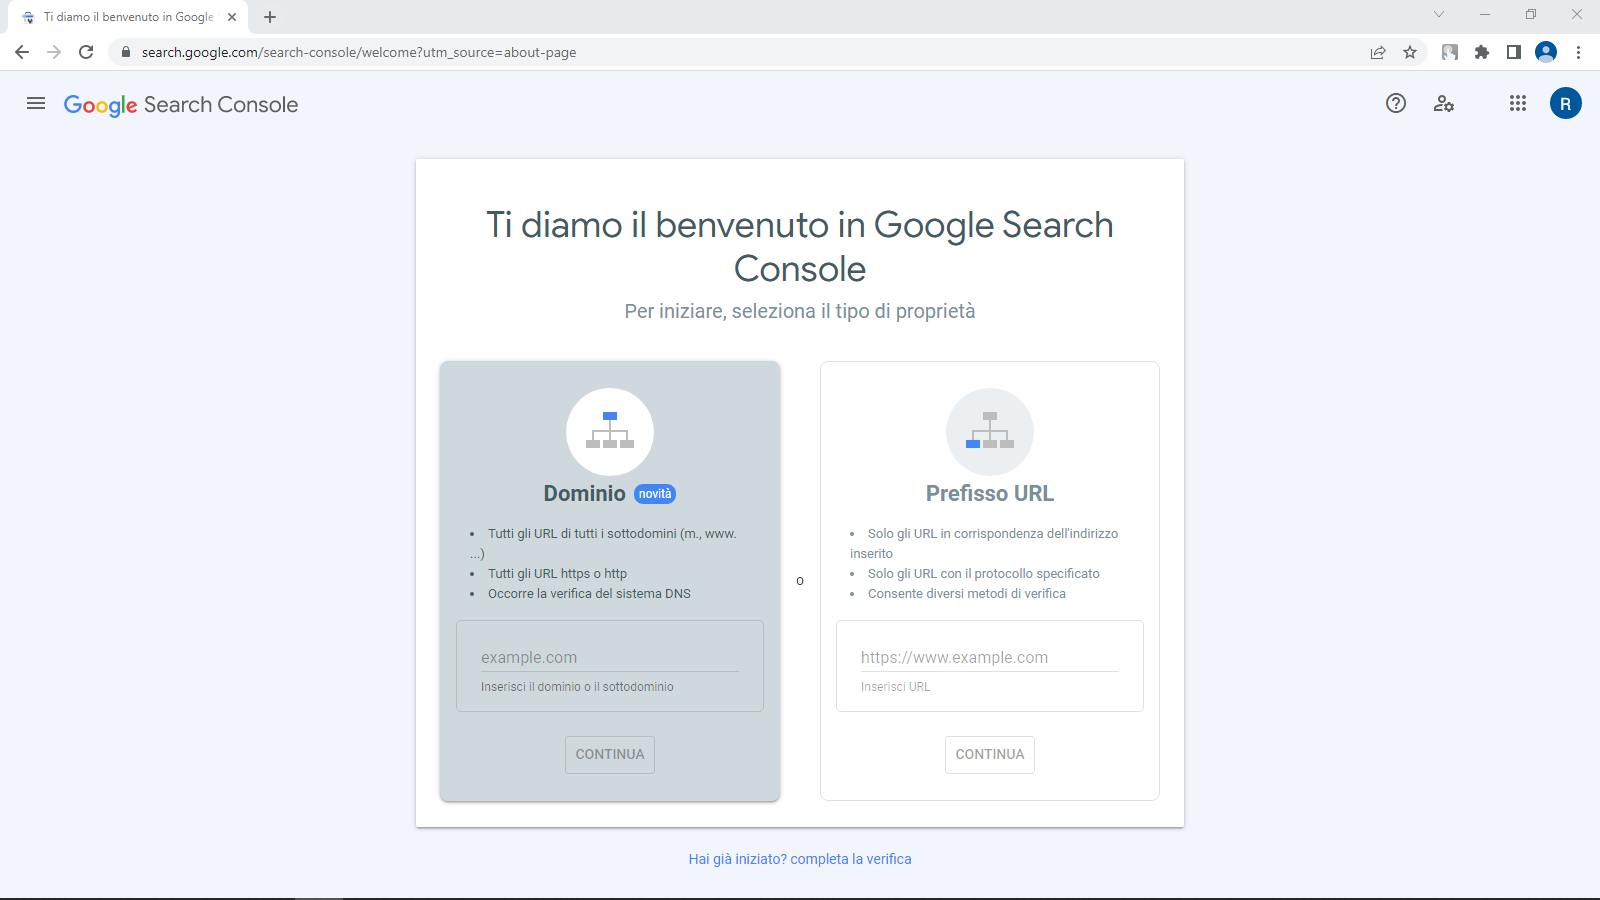
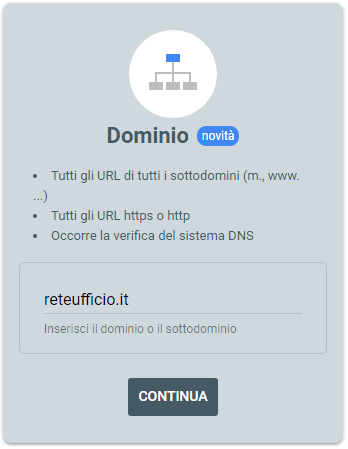
- Select the first option, Domain. Enter your website domain (e.g.,
yourdomain.com) and click Continue.
- A pop-up will appear asking you to verify domain ownership via DNS record.
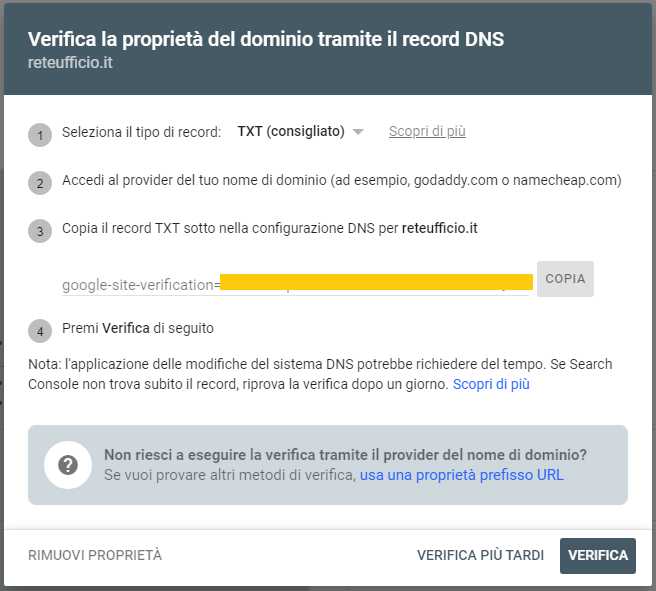
- Select CNAME as the record type.
![]()
- Log in to your domain's cPanel, search for “DNS” and open Zone Editor.

- Click Manage (the wrench icon next to the domain).
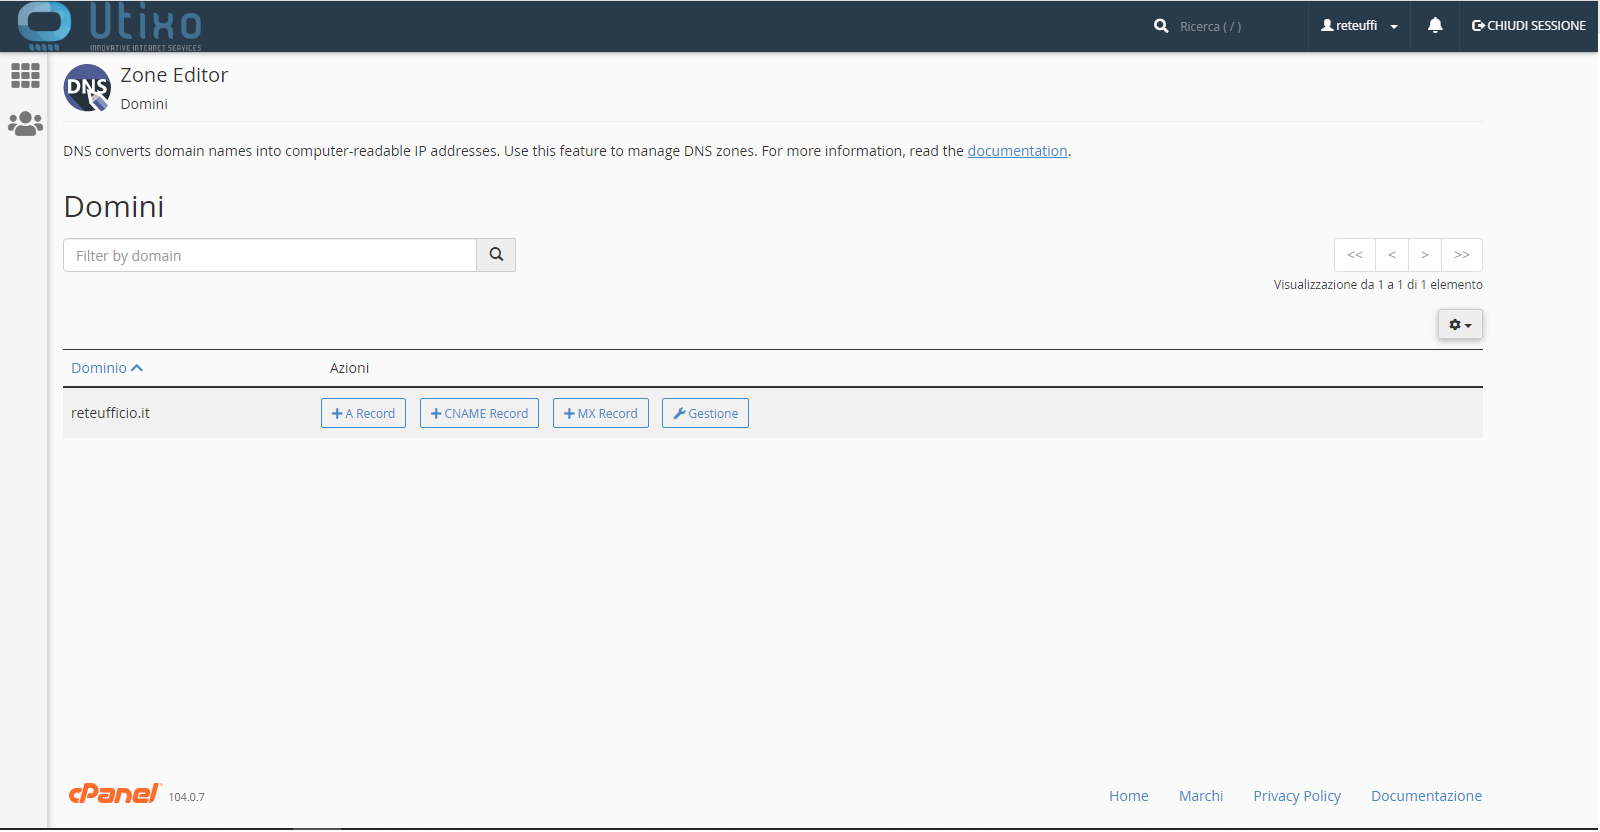
- Click + Add Record and enter the values from the pop-up into the new CNAME record.
Note: The values are specific to each domain. The image is for demonstration purposes only.

Click Save Record to save.
- Return to Google Search Console and click Verify. If everything was done correctly, you’ll see the confirmation message below:
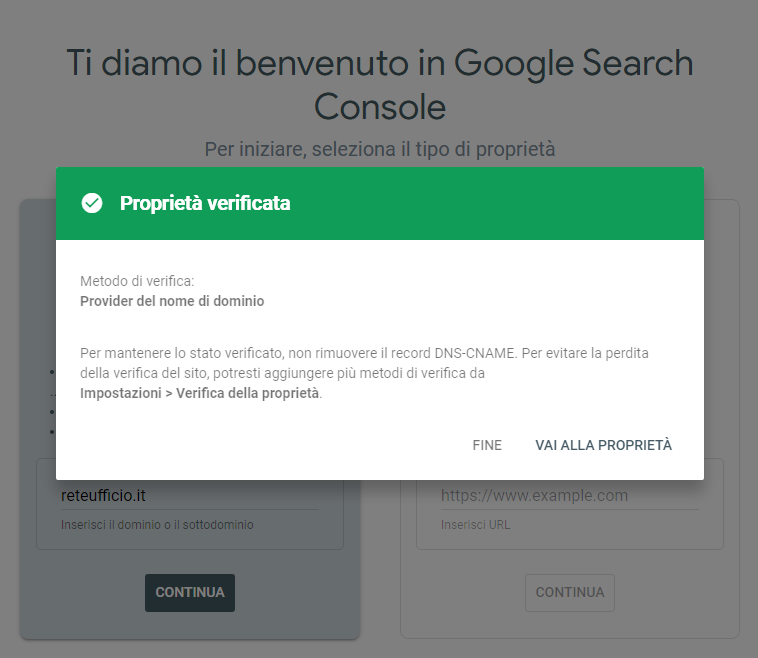
Click Done to finish.
Accessing your site data
To view data, open the Search property dropdown and select your newly verified domain.