Backup Configuration with Veeam Agent for Windows and Veeam Cloud Connect
Follow the steps below to configure a backup job using Veeam Agent for Windows with Veeam Cloud Connect as the target destination.
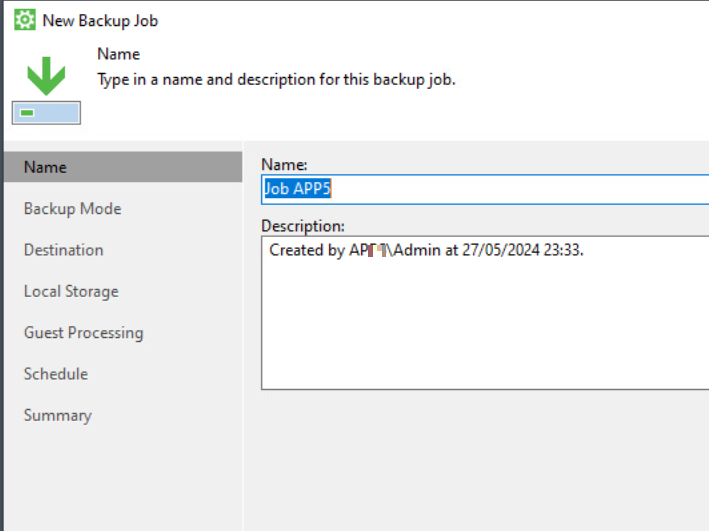
1. Launch Veeam Agent and add a new job
Start Veeam Agent for Windows and choose the option to add a new backup job.
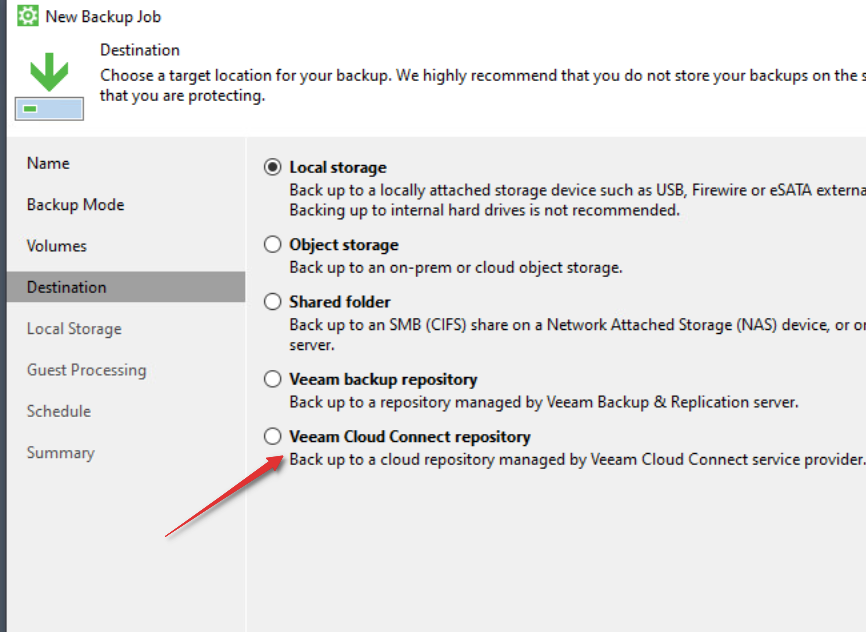
2. Proceed to the "Destination" step
Continue through the job configuration wizard until you reach the Destination step.
When prompted to choose the storage type, select Veeam Cloud Connect Repository.
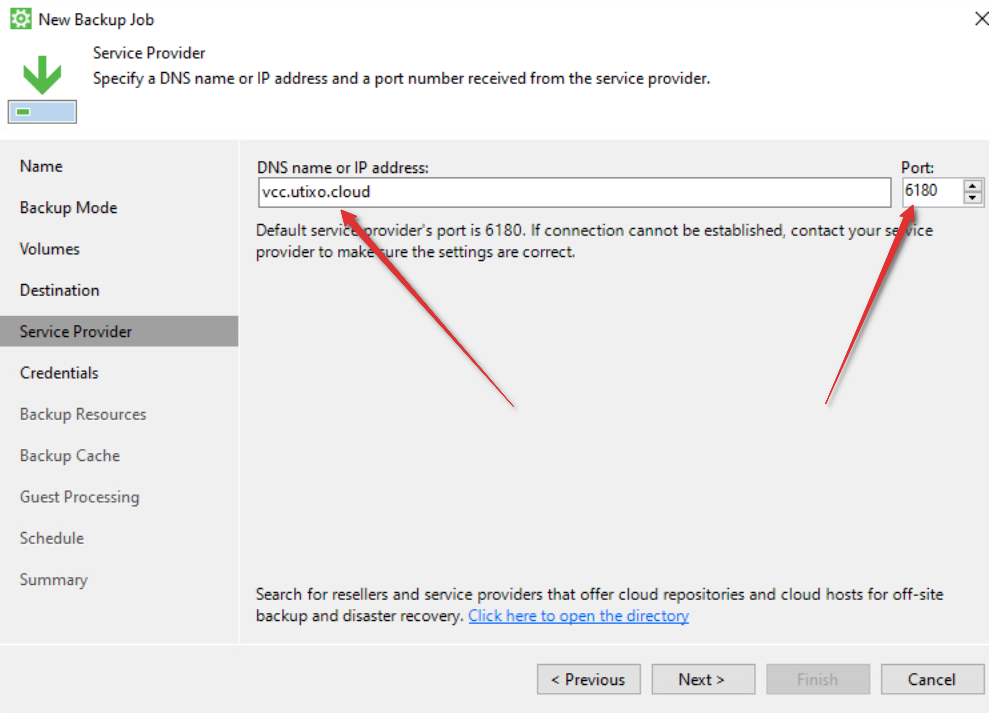
3. Enter the cloud repository address
For the destination, enter the following address:
vcc.utixo.cloud (keep the default port)
4. Authenticate with your credentials
Enter the username and password provided by Utixo when the Veeam Cloud Connect service was activated.
5. Schedule your backup
Set the time and frequency for automatic backups (daily, weekly, etc.).
