Cloud DNS Management from Utixo UCMP Control Panel
Accessing the portal
To get started, visit shop.serverwseb.net.
Once on the site, click Home from the top left menu.
![]()
Accessing services
On the main screen, click on the Services tile.

Selecting your domain service
The Products/Services page will load.
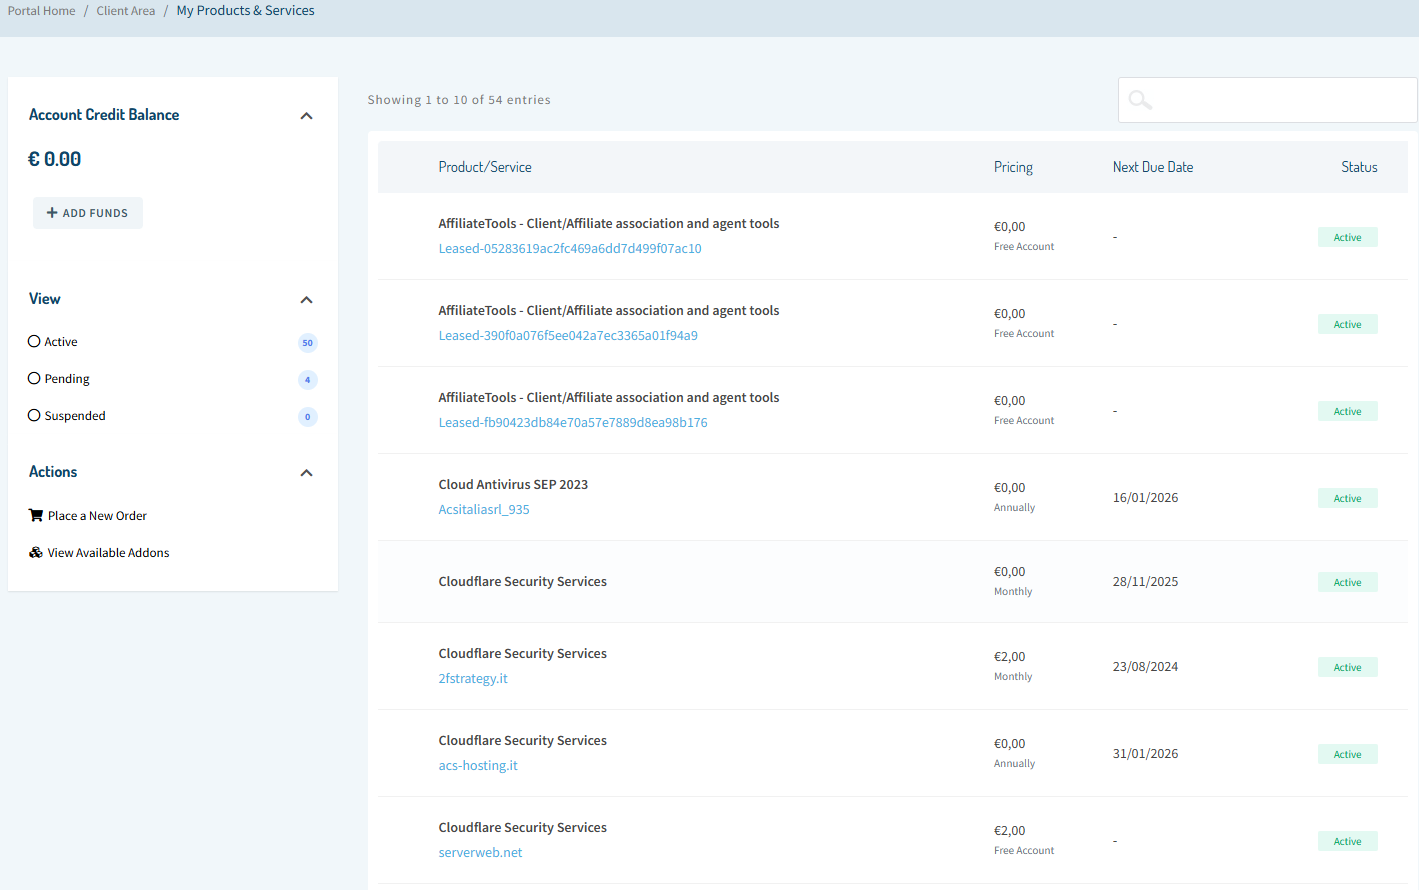
Scroll down to find the service associated with your domain.
On the right side of the service, click the green button to manage it.

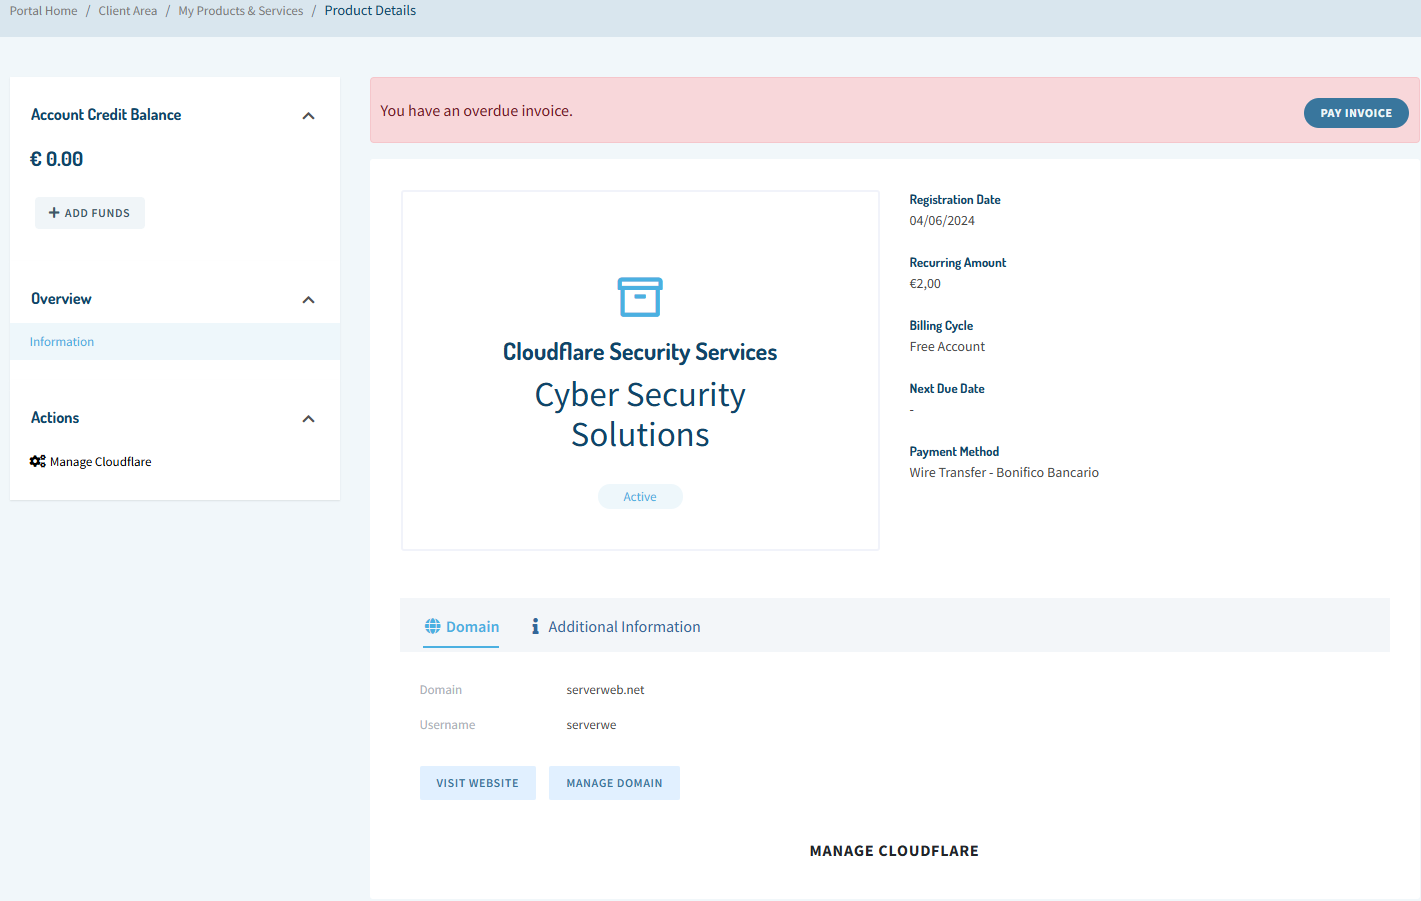
Managing Cloudflare
On the management screen, click on MANAGE CLOUDFLARE at the bottom of the page.
Accessing the DNS section
Within the Cloudflare section, click the DNS tile in the center menu.
![]()
On this screen, you can add or edit a DNS record.
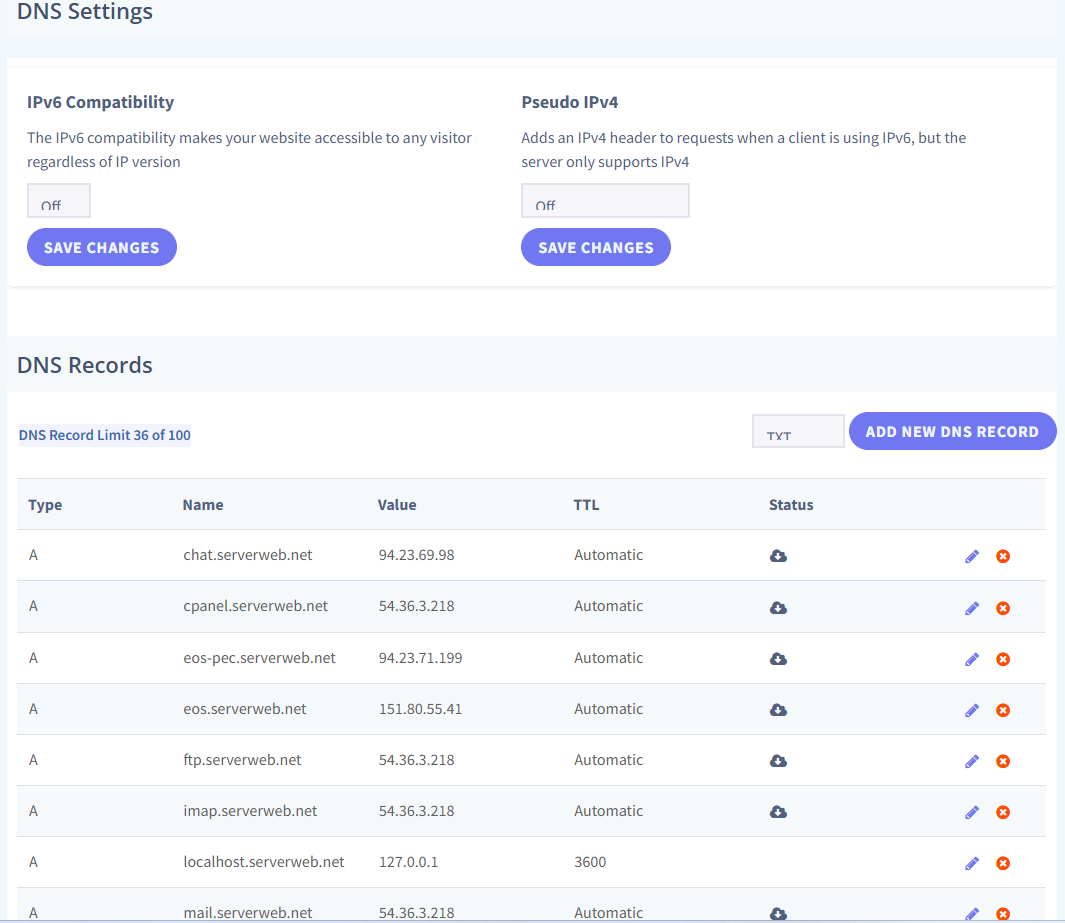
Advanced settings
Set the following values:
- IPv6 Compatibility: Off
- Pseudo IPv4: Add header

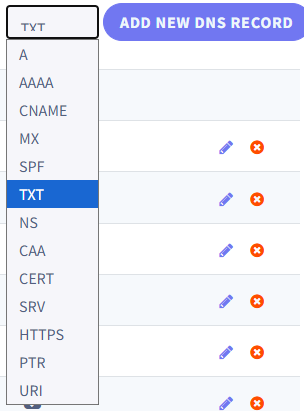
You can select the desired DNS record type using the dropdown menu.
Adding a new DNS record
Once the record is configured, click ADD NEW DNS RECORD.
Fill in all the required fields and click Continue.
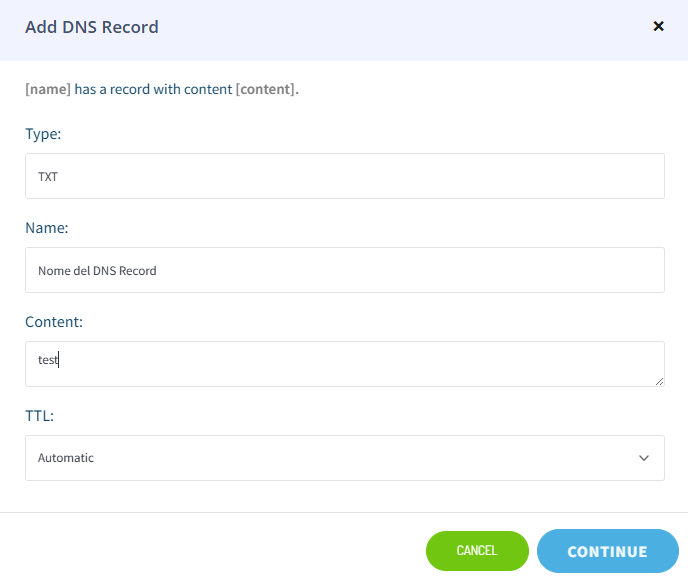
Your new DNS record will be successfully added.
