Enabling and disabling Cloudflare “I’m Under Attack” mode
Cloudflare’s “I’m Under Attack” mode is designed to protect your website during DDoS attacks or suspicious traffic spikes by adding an extra verification step for visitors. Below you’ll find the full procedure to enable it and, once the emergency is over, disable it by restoring a security level better suited for everyday use.
Portal access and service search
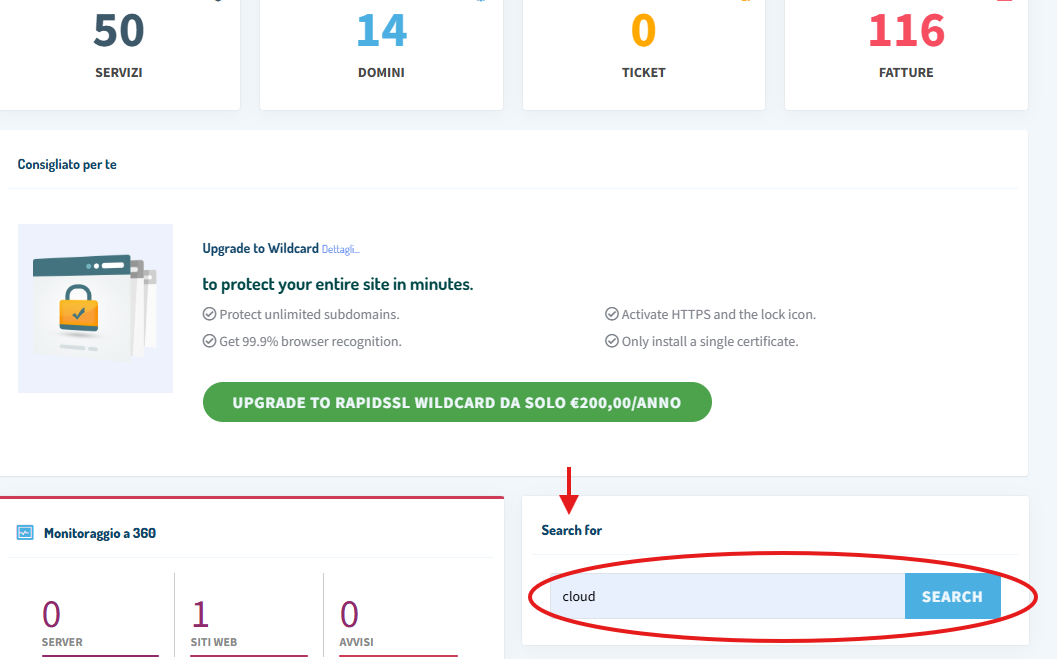
Log in to shop.serverweb.net using your credentials.
After logging in, use the search bar at the bottom: type Cloud and press Enter to display the related services.
Product selection and Cloudflare management access
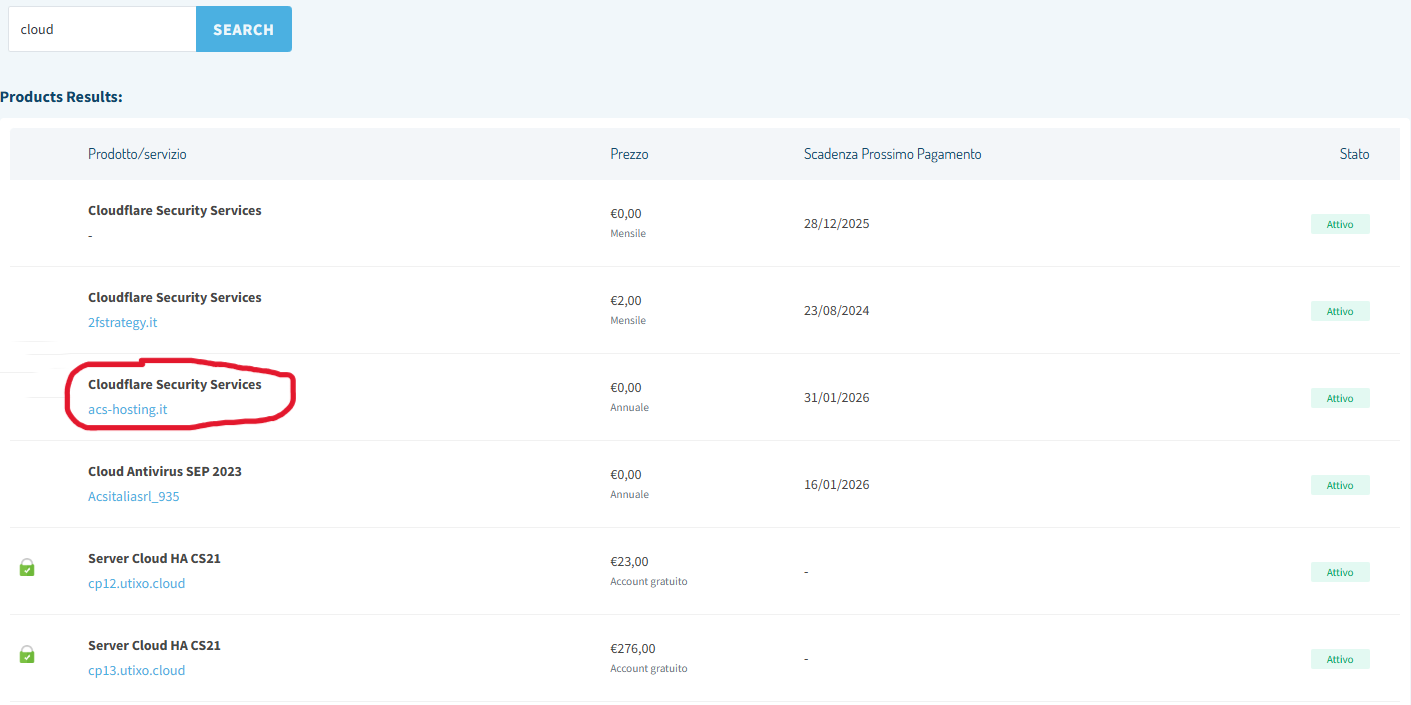
From the results, choose Cloudflare Security Services. The “I’m Under Attack” option is available only within this product.
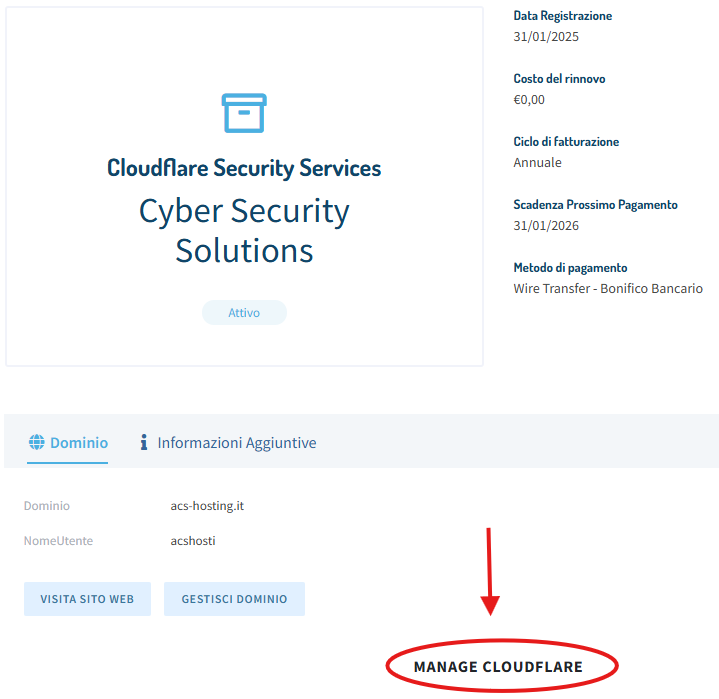
Scroll down until you find the Manage Cloudflare button, then click it to open the service management area.
Enabling “I’m Under Attack” mode
In the management interface, click Firewall in the central menu.

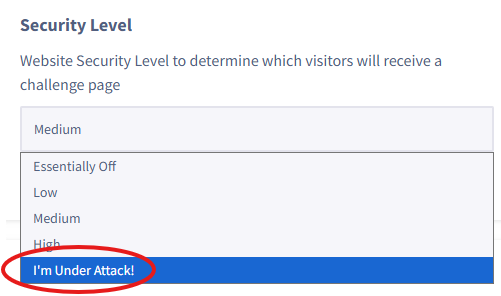
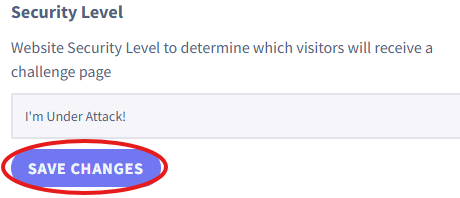
Locate the Security Level field and select I’m Under Attack to enable enhanced protection.
Saving changes
Once the desired level is set, click Save Changes to apply the update.
Disabling emergency mode and restoring the security level
After the DDoS attack or security emergency has ended, it’s recommended to return the site to a standard profile to avoid overly strict checks and possible slowdowns for legitimate users.
- Restore the level: in the Security Level field, switch back to Medium (recommended for daily use) or Low.
- Confirm: click Save Changes to make the changes effective.
