How to Set Up Email Forwarding in Microsoft 365
To set up automatic email forwarding from one address to another within Microsoft 365, you must sign in with an administrator account.
Access the Admin Interface
Log in to the admin portal at admin.microsoft.com.
Search for Custom Mail Rules
Use the top search bar and type "Mail (custom mail rules)", then select "Custom mail rules" from the suggested results.
Screenshot of the custom mail rules search.
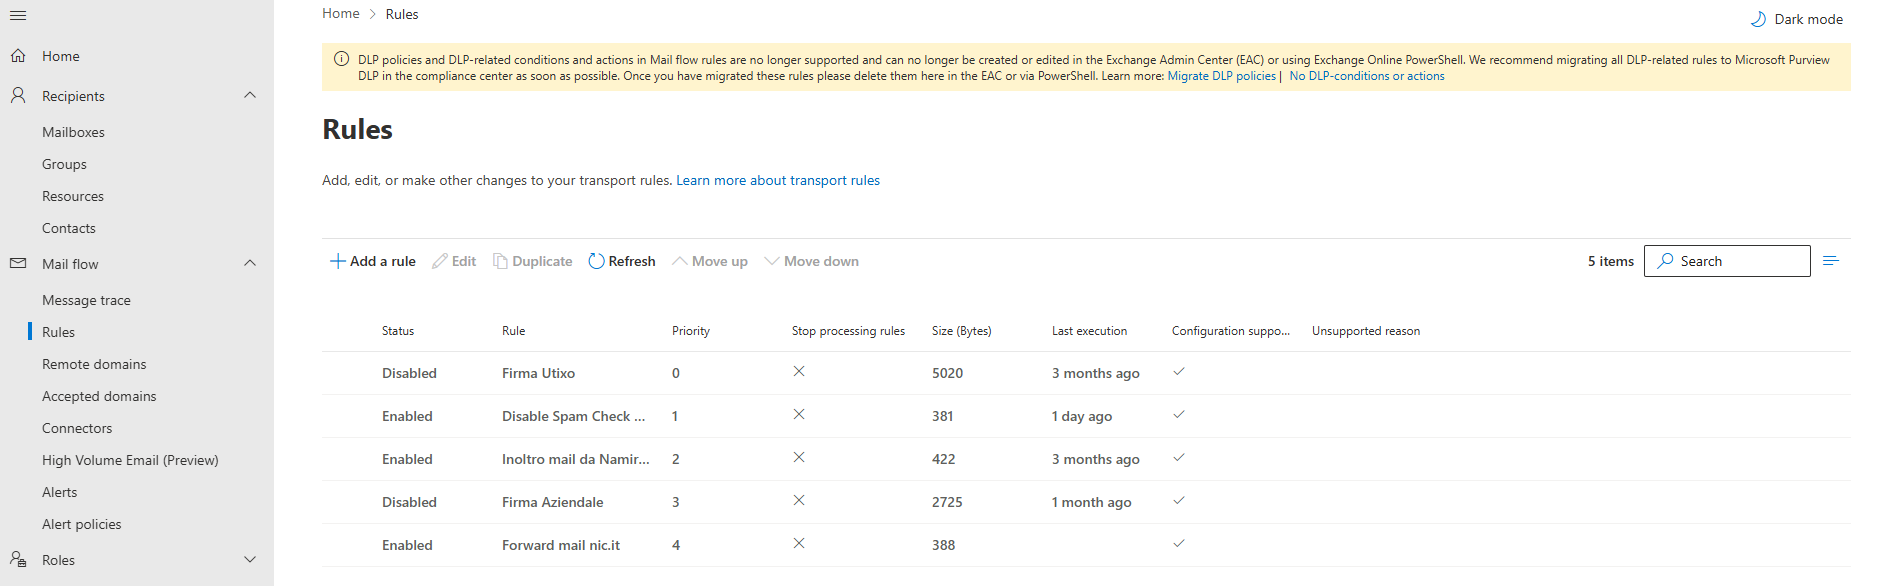
Create the Forwarding Rule
You will be redirected to the Exchange Admin Center. From there:
- Click on "Mail flow" in the left-hand menu.
- From the dropdown, select "Rules".
- Click "Add a rule" to create a new rule.
Configure the Rule
During rule creation:
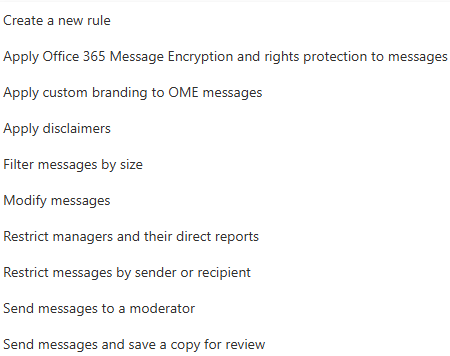
- Select the source account from which emails should be forwarded.
- Assign a descriptive name to the rule.
- Define the condition that will trigger the rule.
- As the action, choose "Redirect the message to" and select the recipient's email address.
Rule setup with conditions and actions.
Important
Make sure the condition you define is accurate and specific to avoid forwarding unintended messages.

Save and Activate
Once the rule is configured, click "Save". From that moment, all emails that meet the defined criteria will be automatically forwarded to the selected address.
