Configuring DKIM Records with Microsoft 365
Accessing the Admin Panel
Open Google Chrome and go to admin.microsoft.com, then log in using your credentials (email and password).
Navigating to Email Authentication Settings
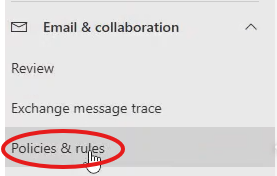
From the left-hand menu, select Email & collaboration,
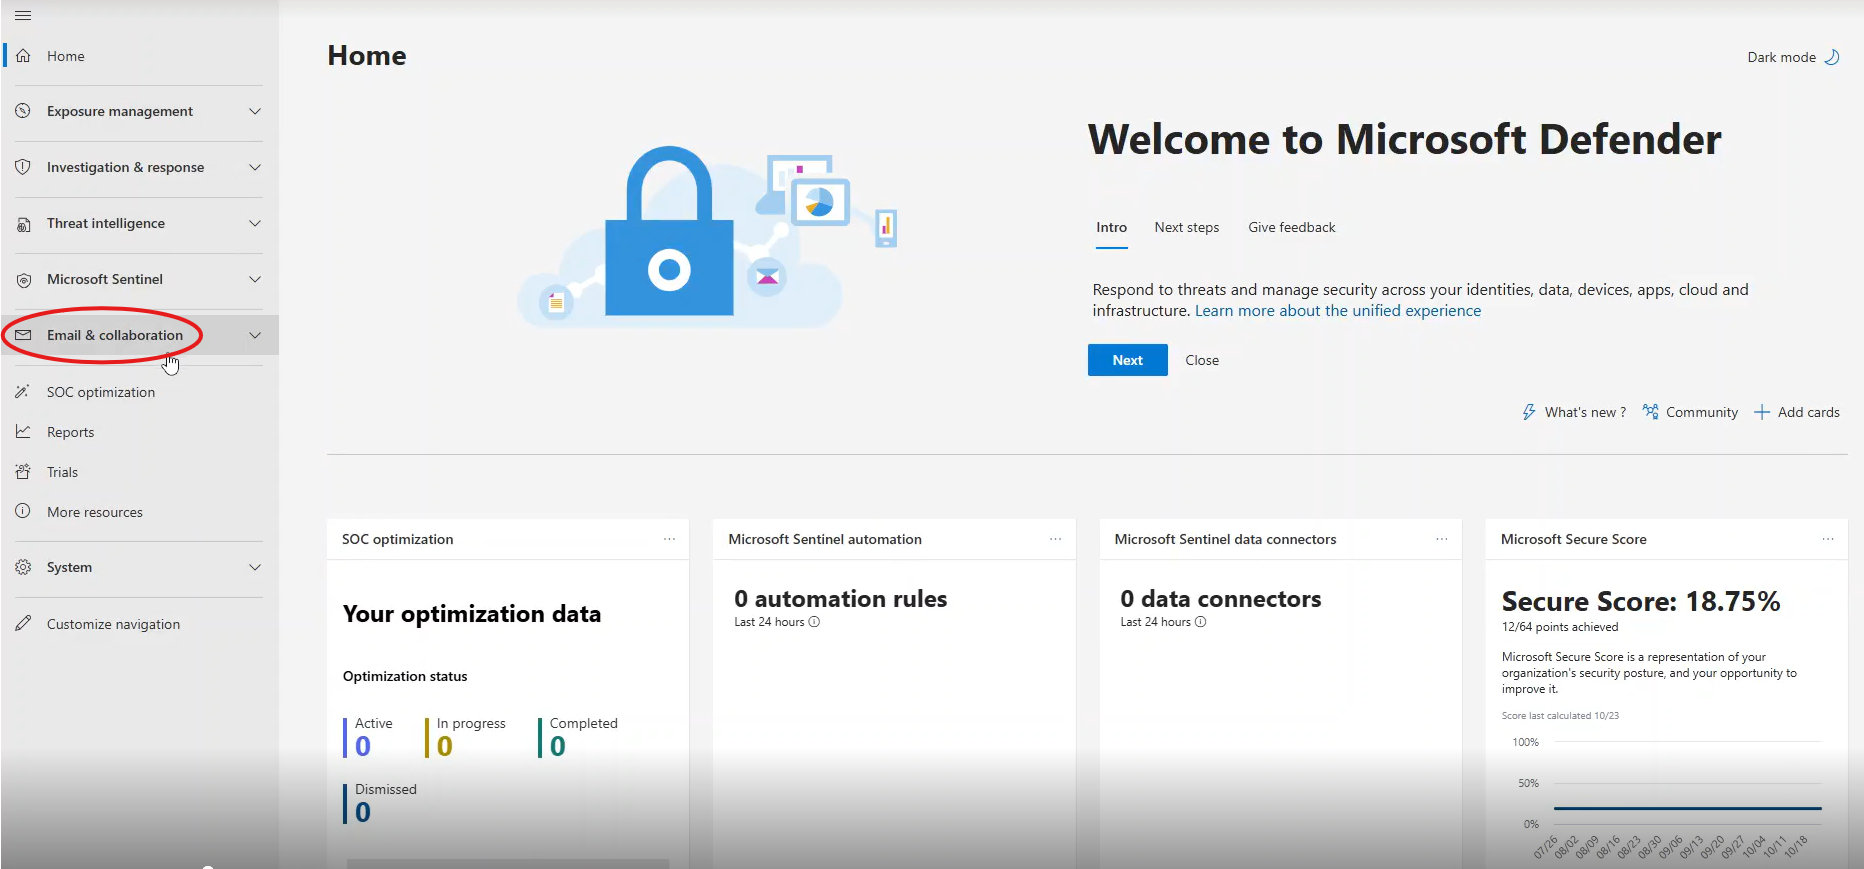
then click on Policies & rules.
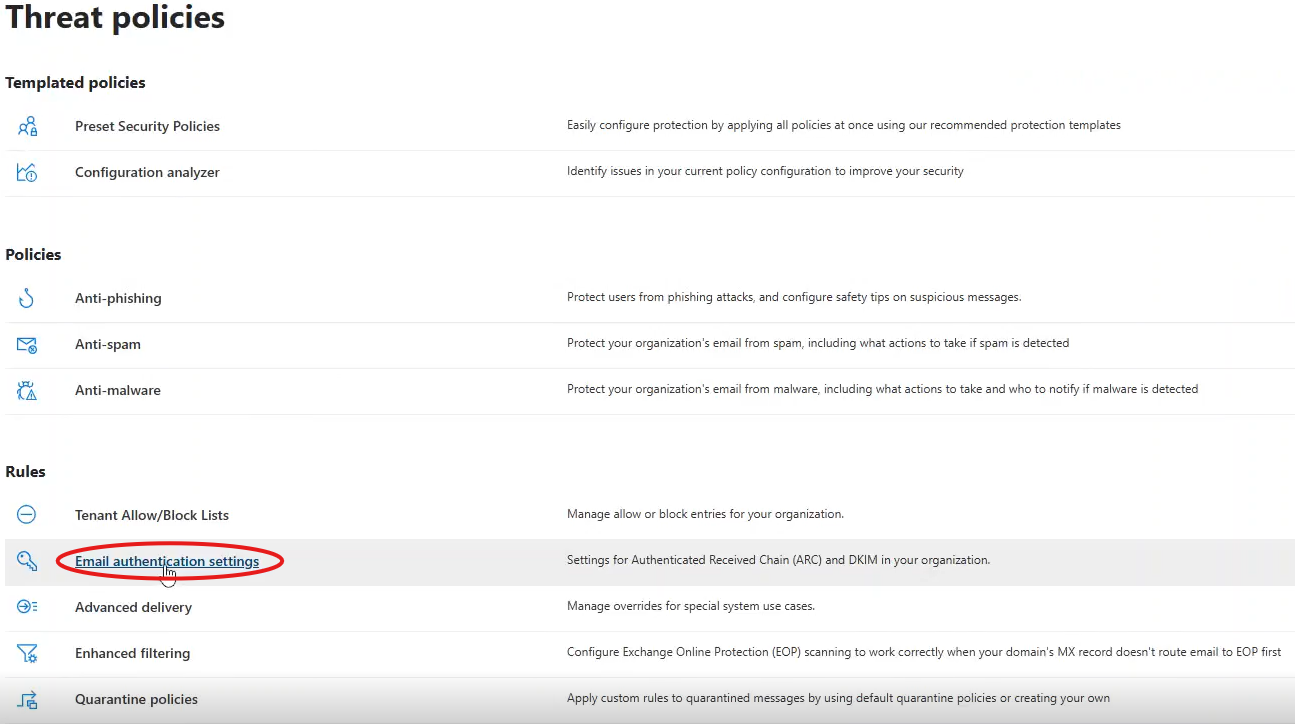
Access the Threat policies section

and select Email authentication settings.
Creating DKIM Keys
Go to the DKIM section.
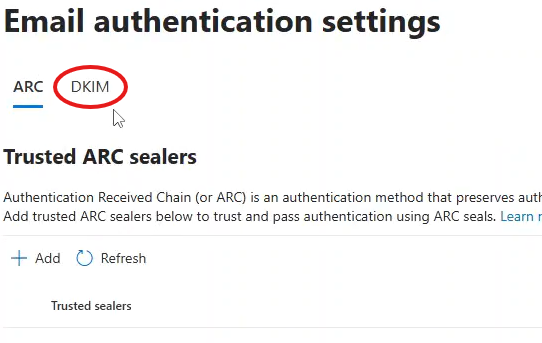
Select the domain for which you want to configure the DKIM record.

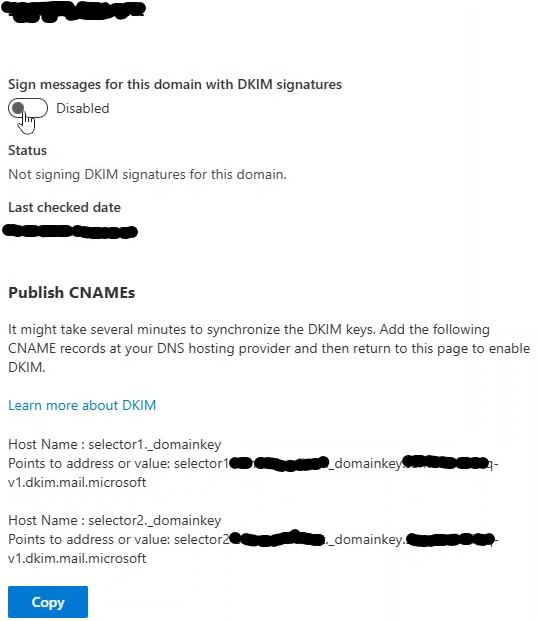
A panel will appear on the right: scroll down and click the blue button Create DKIM keys.

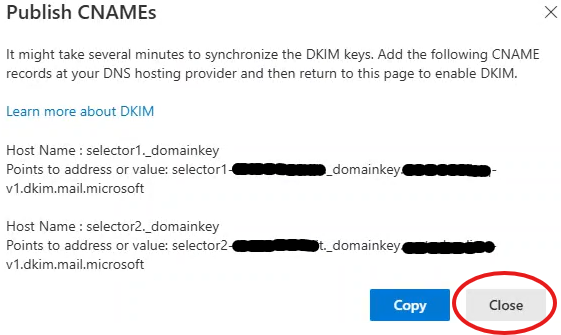
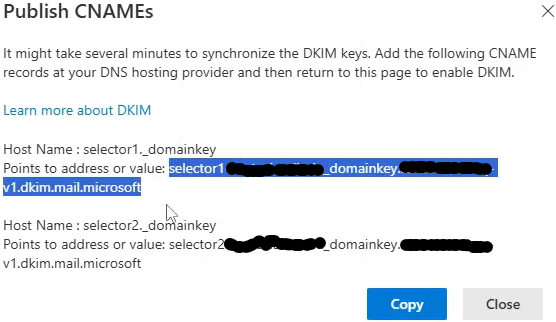
A screen will appear with the necessary information to configure the CNAME records.

Accessing cPanel and Creating CNAME Records
In a new window, log in to your cPanel,
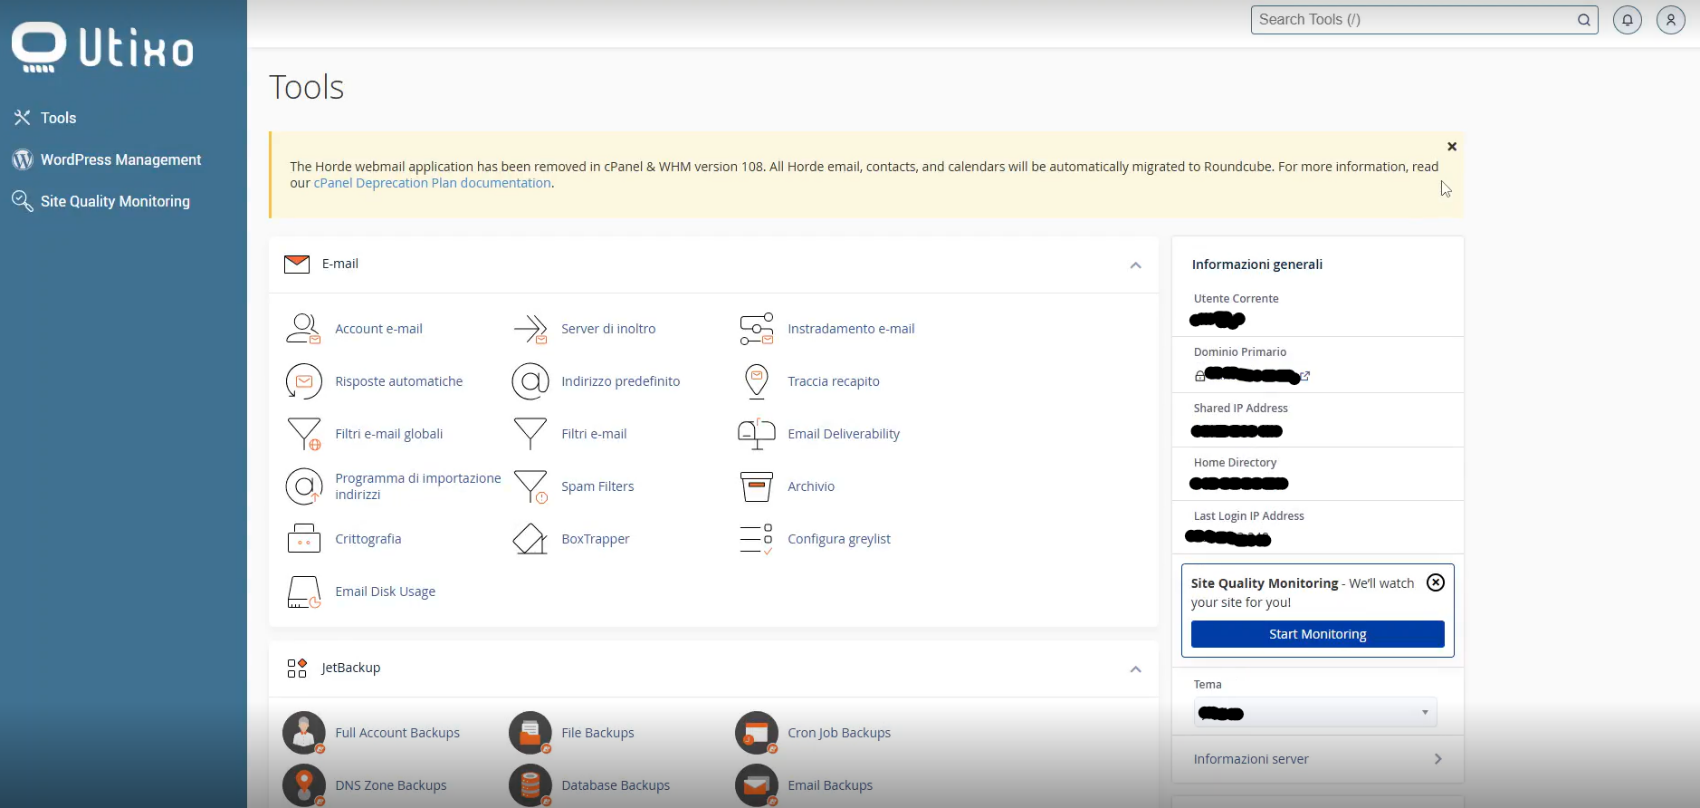
then scroll down to the Domains section and click on Zone Editor.

Select the Manage button next to the relevant domain.
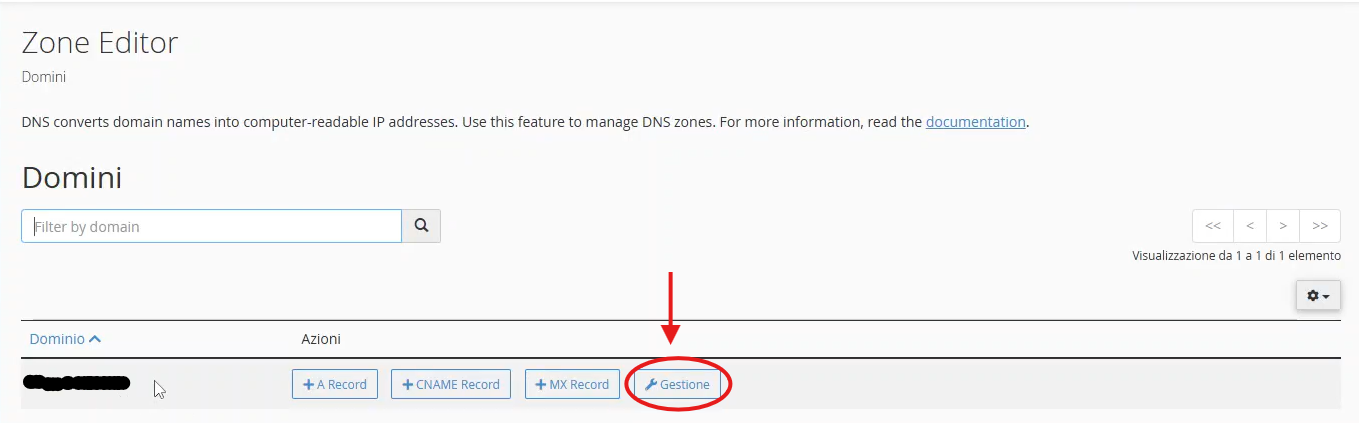
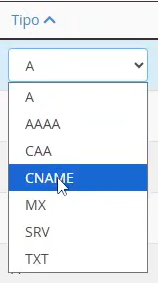
Click on Add Record,
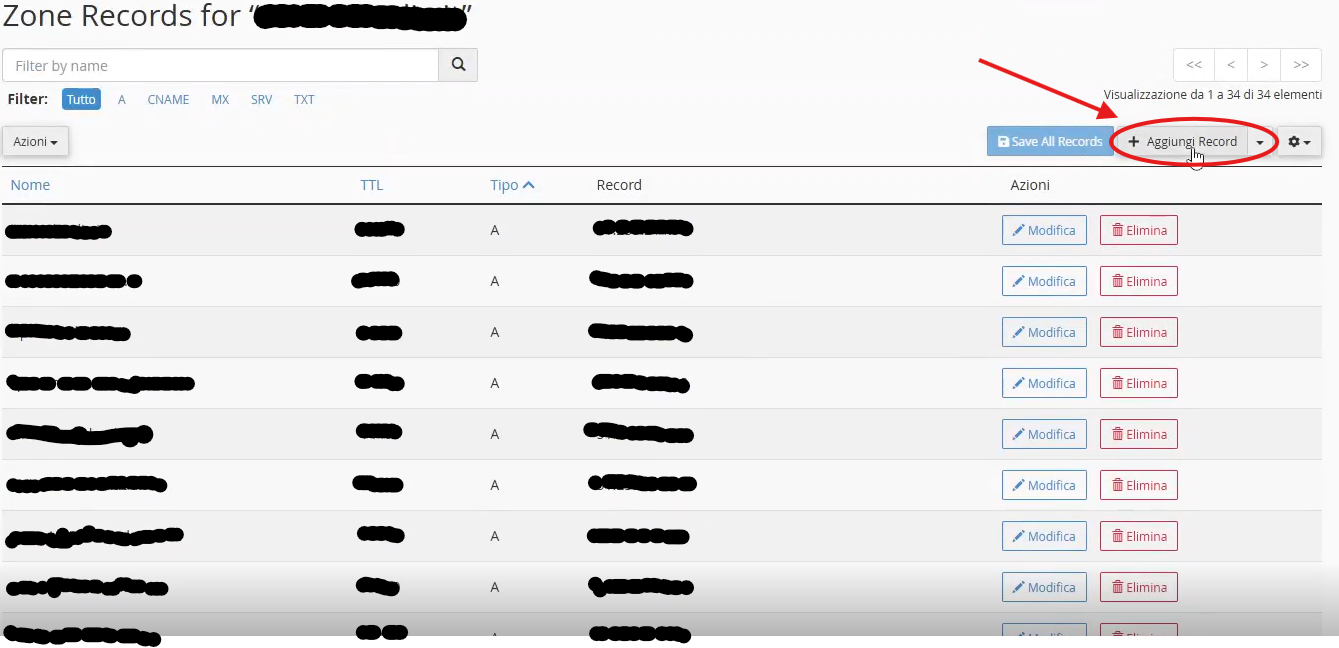
then choose CNAME from the drop-down menu under the "Type" field.
Entering DKIM Data
Go back to the Microsoft 365 screen and copy:
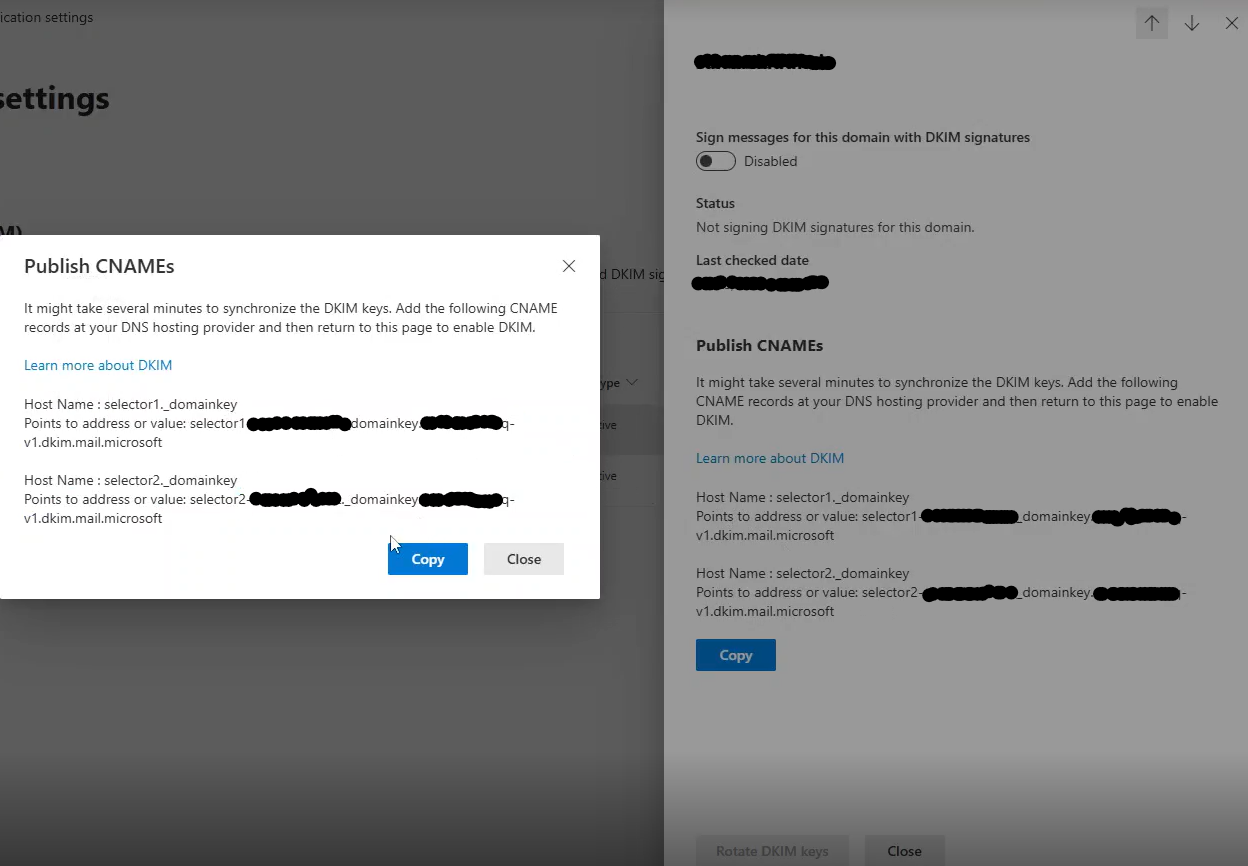
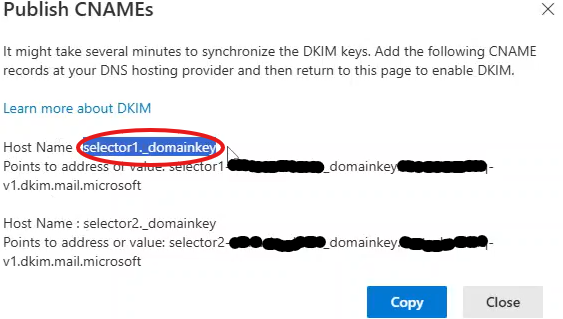
- the Host name (after the colon) and paste it into the Name field of the new record

- the Points to address or value and paste it into the Record field

Click Save Record to save it.
Adding the Second DKIM Record
Repeat the same steps for the second Host Name:
- Add a new record
- Select the CNAME type
- Copy and paste the second Host Name and its corresponding "Points to" value
Important
Once the CNAME records are created, you can close the configuration screen. However, wait at least one hour before enabling DKIM, as DNS changes take time to propagate.