How to Add New Mailboxes to Your Google Workspace Subscription
Below is a step-by-step guide to add new email mailboxes to your Google Workspace subscription.
1. Log in to your control panel
Access your client control panel and locate your active Google Workspace subscription. Click on "Active" to manage the product.
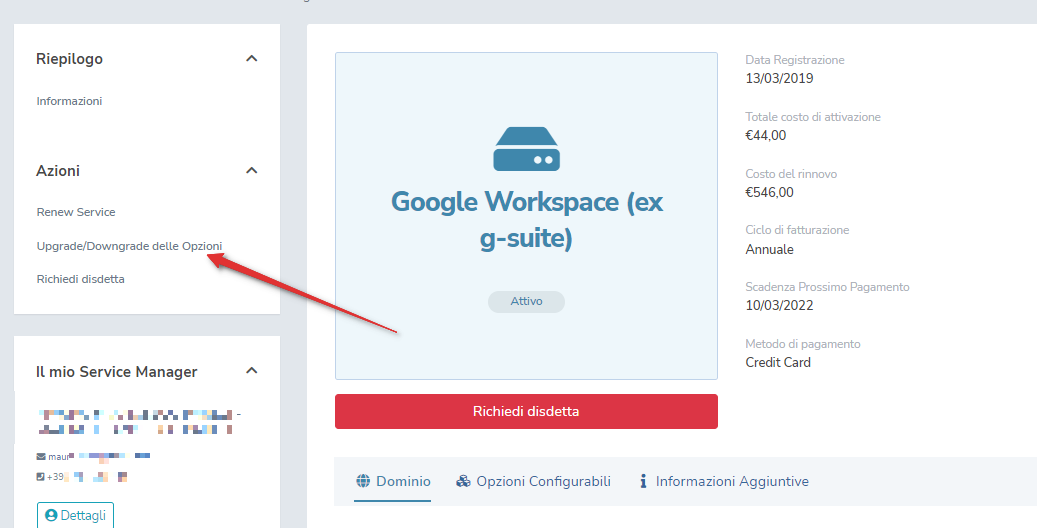
2. Choose the upgrade option
Click on "Upgrade/Downgrade Options" to modify your subscription settings.
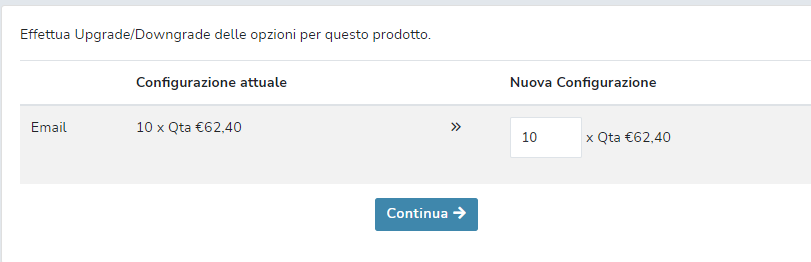
3. Enter the new number of mailboxes
In the configuration field, enter the total number of mailboxes you wish to have. The system will automatically calculate the price difference based on your current and new setup.
An invoice will be generated to cover the additional cost up to the next renewal date.
4. Complete payment and create the new mailboxes
Once the invoice is paid, the new mailboxes will become available.
You can then access the Google Admin Console to create and manage the new email accounts.
