“Allowed memory size exhausted” Error in WordPress: What It Means and How to Fix It
The error “Allowed memory size of XXX bytes exhausted (tried to allocate Y bytes)” occurs when WordPress exceeds the allocated PHP memory limit for script execution. This limit is defined by the WP_MEMORY_LIMIT constant, and if it's too low, it can prevent certain operations from completing.
This is a common issue, especially on WordPress sites with many active plugins or complex features.
Common Causes
- Heavy themes or plugins that consume significant memory.
- Resource-intensive tasks such as data import/export, full backups, or large database queries.
- A low PHP memory limit (e.g., 128 MB), insufficient for WordPress or your plugins.
How to Increase PHP Memory Limit via wp-config.php
To resolve the issue, you can increase the memory limit by editing your site’s wp-config.php file. Here’s how to do it via cPanel.
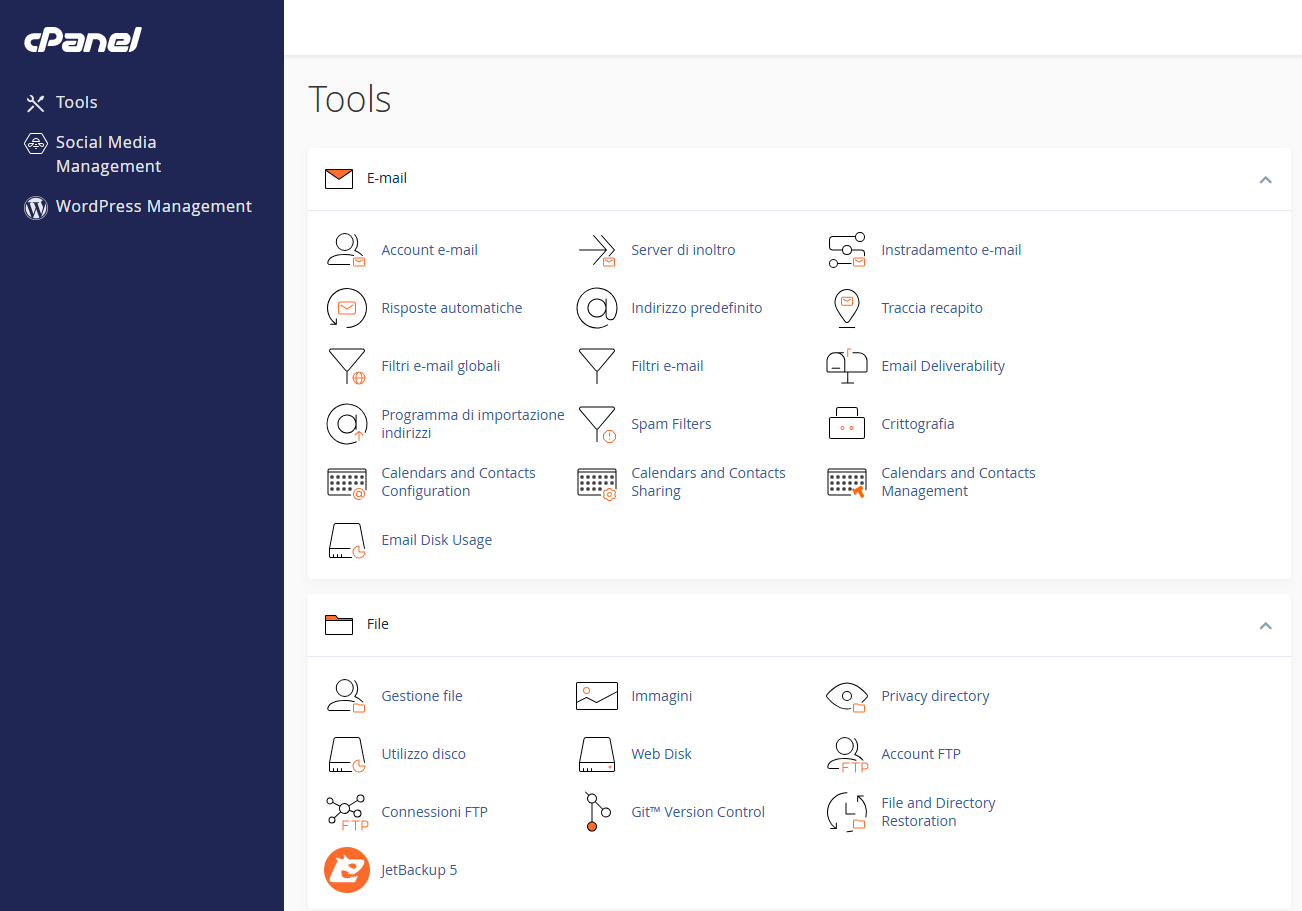
1. Log in to cPanel
Access your hosting account's cPanel and click on “Tools”.
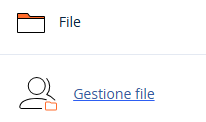
2. Open the File Manager
From the main dashboard, go to File > File Manager to open the file management tool.
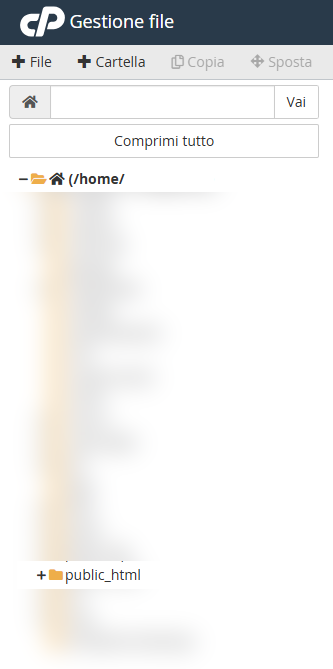
3. Navigate to the public_html Directory
In the left-hand menu, locate and click on the public_html folder, or your site’s root directory if different.
4. Edit the wp-config.php File
Find the wp-config.php file, right-click it, and choose Edit.
5. Add the Memory Directive
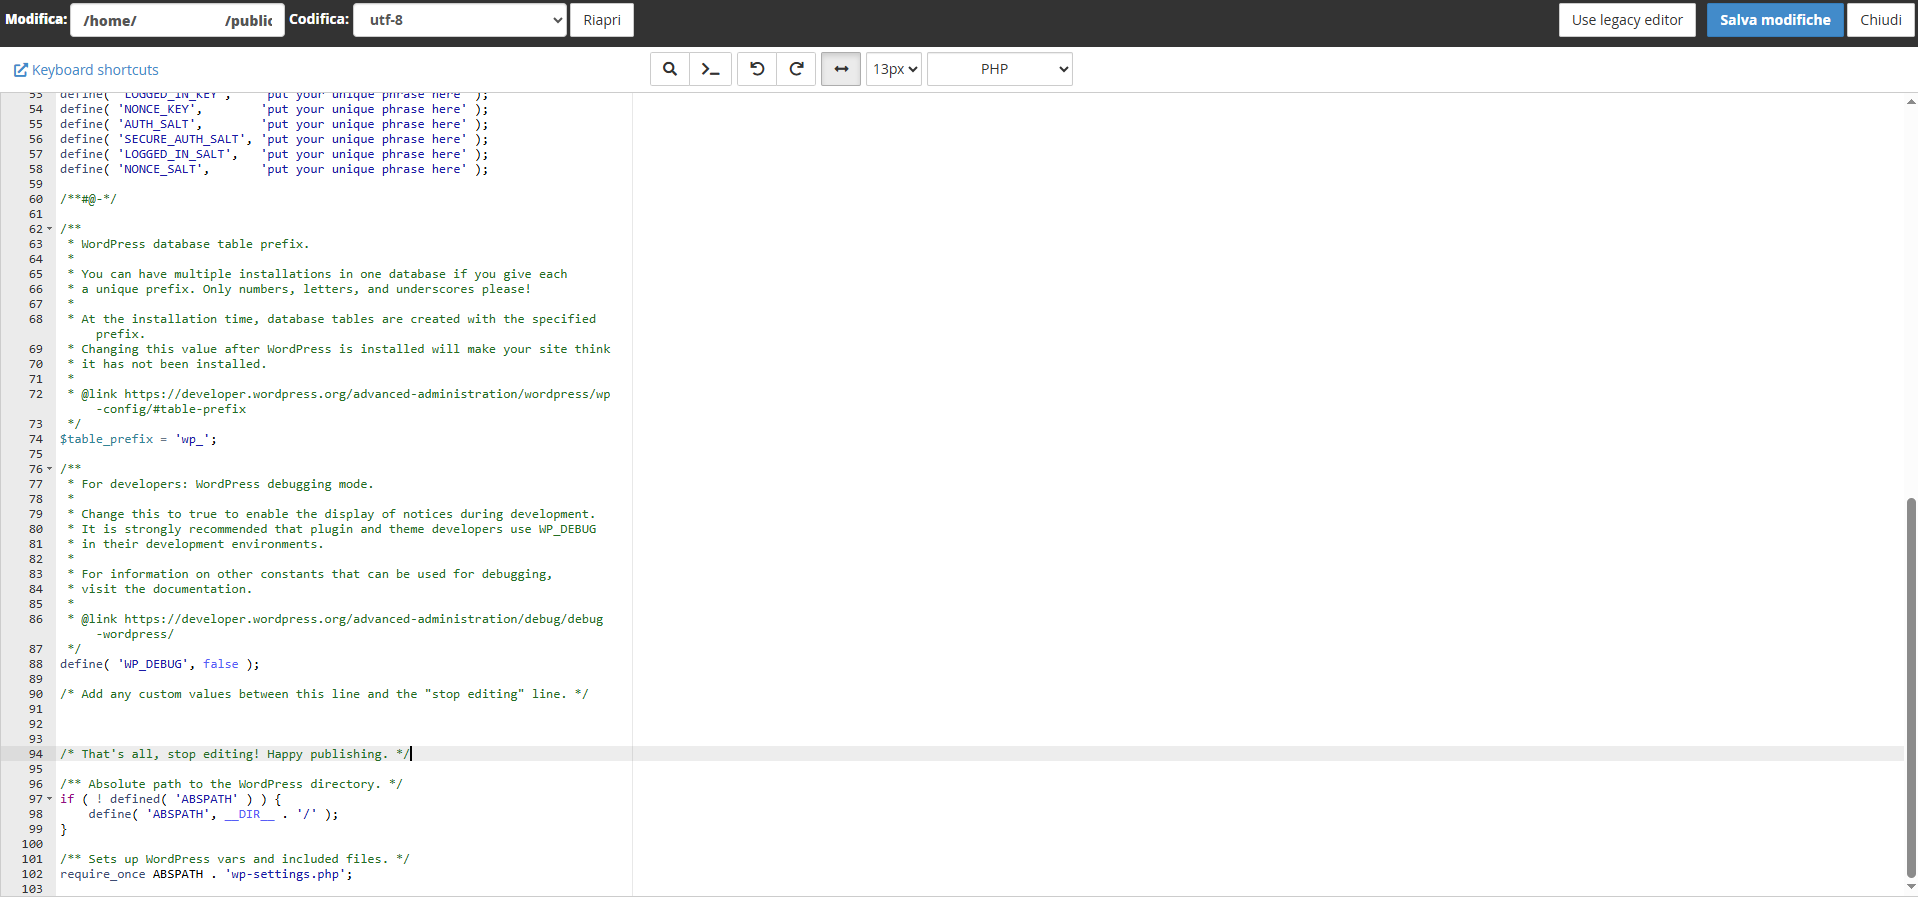
![]()
Before the line /* That's all, stop editing! */, insert the following code:
define('WP_MEMORY_LIMIT', '256M');This line increases the PHP memory limit to 256 MB.
6. Save the Changes
Click Save Changes to apply the update to your configuration file.
Warning
Some hosting providers may restrict the ability to increase memory via wp-config.php. In such cases, you may need to edit the php.ini file or contact your hosting provider’s support team.
