Manual Outlook Configuration for Utixo Exchange
This guide walks you through the steps to manually configure your Utixo Exchange account in Microsoft Outlook using the Windows Control Panel.
Step 1: Open the Control Panel
Access the Windows Control Panel.
Select Small icons view, then click on Mail or Mail (32-bit). You can also reach it via Outlook settings.
Click on Mail Accounts.

Step 2: Add a new account
Click New to start adding your Exchange account.

Step 3: Choose account type
Select Email Account and click Next.

Step 4: Manual setup
Choose Manual setup or additional server types and click Next.

Step 5: Select service
Select Microsoft Exchange Server or compatible service and click Next.

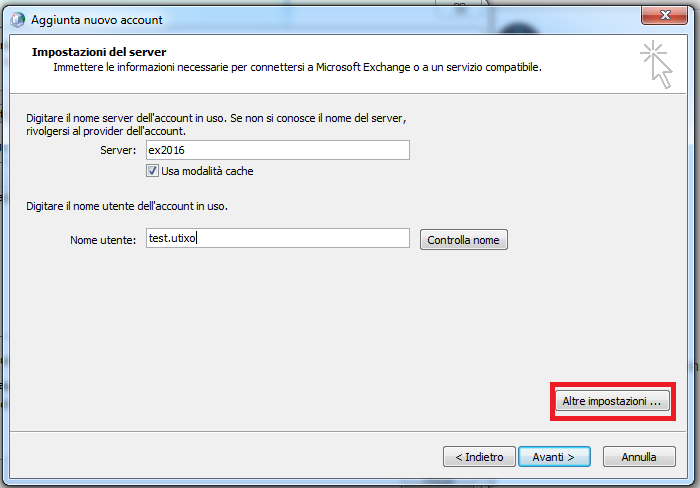
Step 6: Server settings
In the Server field, enter the Utixo Exchange server name provided.
In the Username field, enter your user only (e.g., test.utixo), not the full email address.
Click More Settings.
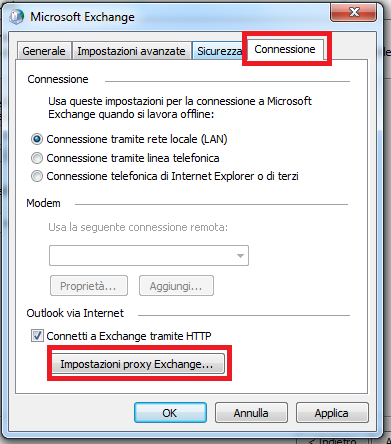
Step 7: Exchange Proxy settings
Under the Connection tab, enable “Connect to Microsoft Exchange using HTTP”.
Click on Exchange Proxy Settings.
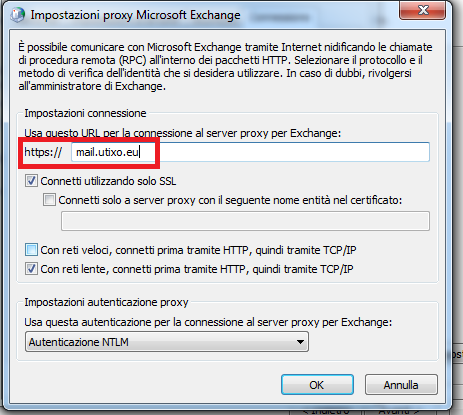
Step 8: Connection parameters
Enter the following in the URL field:
mail.utixo.eu
Enable:
- Connect using SSL only
- On slow networks, connect using HTTP first, then TCP/IP
Click OK to continue.
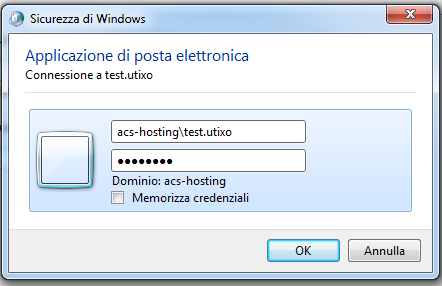
Step 9: Authentication
In the authentication window, enter your credentials as:
acs-hosting\username (e.g., acs-hosting\test.utixo)
Enter the provided password and select “Remember credentials”.
Once done, launch Outlook to begin using your account.