Utixo VPS Control Panel
Utixo provides its clients with an advanced VPS control panel, allowing complete management of all technical aspects of the virtual server.
🔐 Accessing the Control Panel
To log in, go to https://controlpanel.utixo.co.uk and enter your credentials.
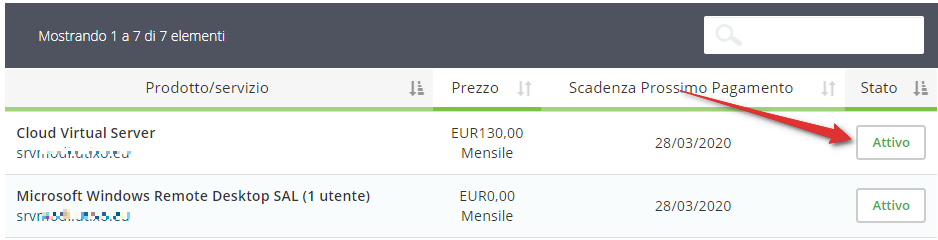
- Select the My Services menu
- Locate your Cloud Virtual Server service
- Click Active to access the VPS management dashboard
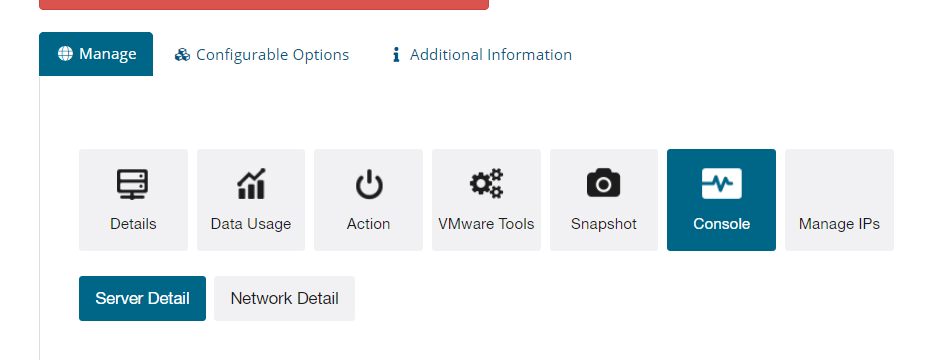
📋 Available Features
- Resource monitoring (CPU, RAM, Disk)
- VPS status and hardware details
- Start, stop, reboot, and OS reinstallation
- Snapshot creation
- Direct access via VNC console
- IP management: reverse DNS and firewall rules
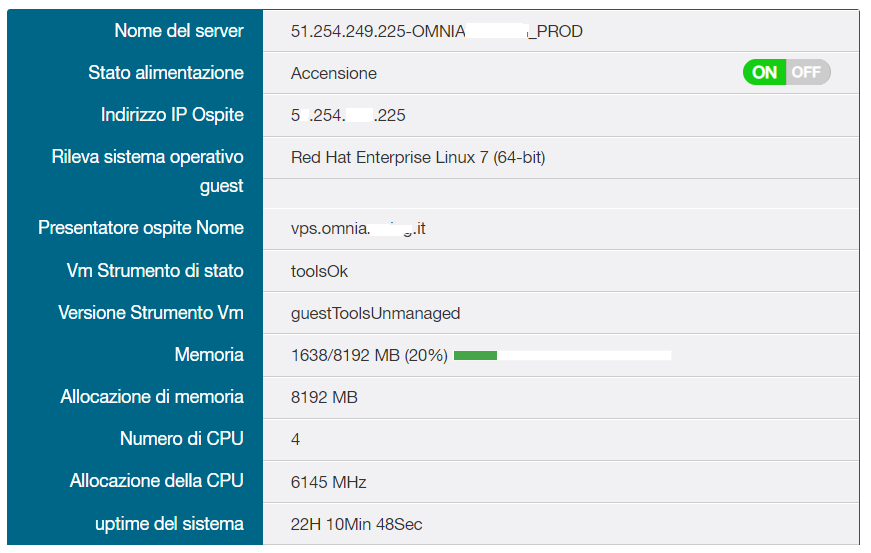
📊 Viewing Server Configuration
View the current server status (on/off), CPU and RAM usage:
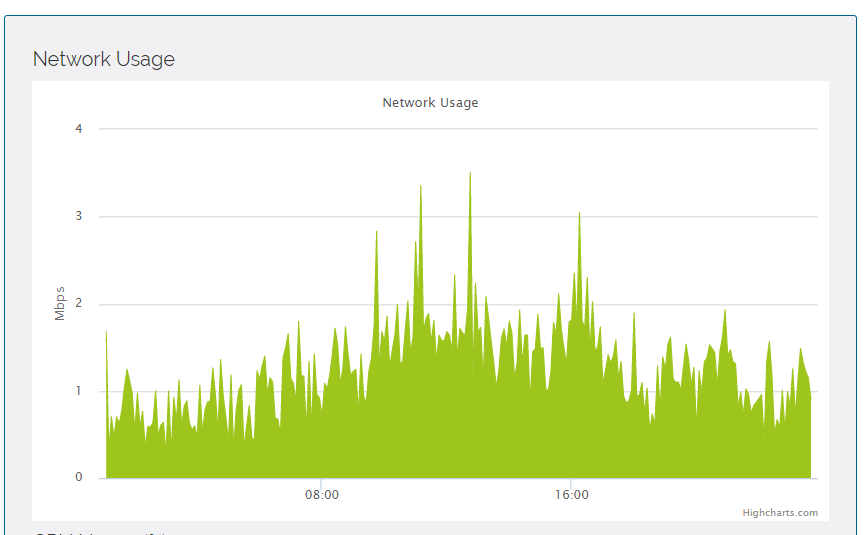
📈 Resource Usage Monitoring
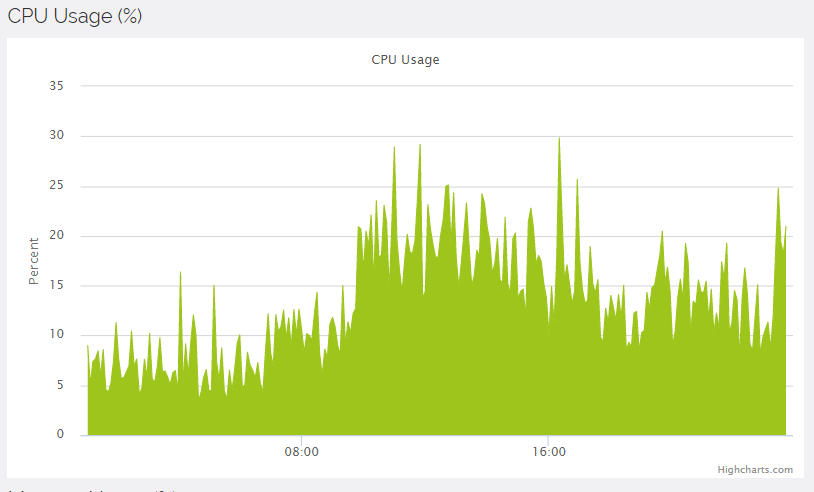
Real-time graphs for the last 24 hours showing:
- Bandwidth (network)
- CPU usage
- Memory usage
📸 Snapshot Function
The Snapshot feature allows you to create an instant backup of your VPS. It is especially useful before:
- Critical updates
- System changes
- Software installations
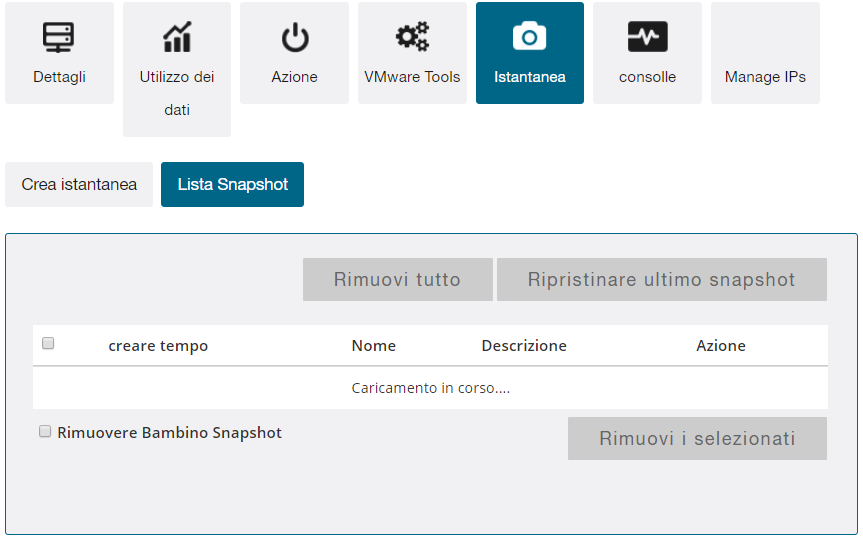
Note: The standard configuration allows one snapshot. Delete old ones to avoid performance issues.
🖥️ Direct Console Access
Allows direct access to the virtual machine even in case of network issues. Equivalent to physical access to the server.
🌐 IP and Firewall Management
You can configure reverse DNS and apply simple firewall rules to limit access to the machine.
![]()
⚠️ Warning
These settings are sensitive: misconfigurations may compromise VPS operation.
